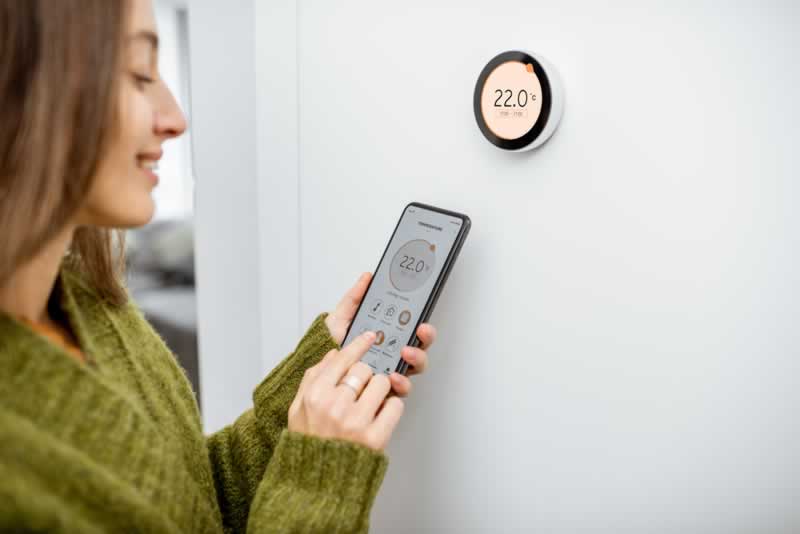
You have just purchased a smart thermostat, and now it’s time to set it up. Don’t be alarmed by the prospect of wire and circuit breakers.
According to experts, it’s best not to try to replace your thermostat when you need your HVAC system to work, such as on a very chilly day or right before you have visitors staying with you for the holidays. Let’s not throw away the old thermostat. You can always reconnect the old thermostat if you make a mistake or can’t get the new one to operate. To avoid any discrepancy, we strongly recommend to hire experts for heating installation in Staten Island.
Thermostat installation in Staten Island and Manhattan
Suggested by Residential HVAC Contractors NYC
If you run into any issues during the installation, the experts strongly encourage you to contact an electrician or HVAC specialist for assistance. Any damage to your air conditioning system is the last thing you want to do. The expense of repairing a shorted-out air handler is far more than the cost of installing a thermostat. Let’s get jump into this operation right now.
How to Change a Smart Thermostat
Here you’ll find step-by-step instructions that can be helpful. It might differ significantly from the manufacturer’s instructions for your particular thermostat, so check the installation guide and/or owner’s handbook as well.
1. Turn Off Your HVAC System
Turn off the whole HVAC system at the breaker panel. This will turn off the power to your thermostat, preventing you from shorting out the electrical components of your system. Even if the system is turned off, certain older battery-powered thermostats may appear to be on.
2. Pop Off the Faceplate
To access the low-voltage wiring and backplate on your old thermostat, you’ll need to remove the faceplate. With your smartphone, take a snapshot of the wiring to keep track of which lines link to which terminals. Some thermostats come with labels that match the numbers on the terminals to mark the wires.
3. Remove the Backplate
The thermostat wires must now be removed from the backplate. Depending on the model, you may need to pull out small screws holding the wires in place or press little tabs with a pen to liberate them. Simply remove the screws securing the backplate to the wall using a screwdriver.
4. Add a C-Wire (Optional)
You can skip this step if your system already has a C-wire. If not, you may need to purchase and install a “add-a-wire” adaptor from a third-party vendor. Some smart thermostat manufacturers, such as Ecobee, offer an adaptor for their products.
Note: If you’re unsure about adding a wire, we highly advise you to hire residential HVAC contractors to do it. Even a small mistake might cause damage to your system.

5. Use the New Backplate as a Template
Mark the wall using the backplate of the new thermostat and a pencil. Drill holes for the backplate screws using a tiny bit at the markings. (If required, install wall anchors.) Before putting the backplate into the wall, make sure the thermostat wires are pulled through.
6. Reattach the Wires:
Connect the thermostat wires to their respective terminals when the backplate is securely secured. This step should be relatively simple if you used stickers to mark your cables. If you didn’t, use the wiring picture on your previous backplate to connect the wires to their terminals. In order to avoid unnecessary rework, hand it over to the experts. Seek professional assistance for heating installation in Manhattan.
7. Put the New Faceplate in Place:
You should be able to snap the faceplate of your new thermostat onto the backplate after the wire is in place. If it doesn’t attach readily, don’t force it; cables may be obstructing the process. Before attempting to reattach the faceplate, tuck them back into the wall.
You may now switch on your HVAC system’s breaker. The thermostat should now have electricity and will begin to boot up. (Yes, smart thermostats start up in the same way as your laptop does.)
8. Connect the Thermostat to the Internet through WiFi:
Your new smart thermostat will most likely walk you through a series of prompts to connect it to WiFi and set up its accompanying smartphone app now that it’s turned on. This stage of the process might vary based on the make and model, so pay attention to the instructions.
You’ll start saving money as soon as your new smart thermostat is set up.

Simone Arnica is the certified and more than 35 years experienced HVAC expert from Arnica Heating and Air Conditioning Inc. suggesting maintenance tips for the HVAC system to protect it from early damage, unwanted maintenance cost and also to save on energy cost. Follow the blog to learn how it can be done easily.


Leave a Reply
You must be logged in to post a comment.